In this post, you’ll learn step by step how to grow tomatoes in your garden. By following these simple steps, you can easily grow tomato plants from seeds.
Do you think growing tomatoes is a bit of a tricky task? You’re mistaken. Though these plants are prone to a few problems, you can successfully grow them in your home garden with proper care.
Let’s briefly explain how to grow tomatoes? Sow the tomato seeds indoors into the containers for a head start. Water and leave the container in a warm and dark cabinet. Seedlings will appear after germination. Keep the soil moist, not wet. Transfer seedlings outdoors when the temperature goes above 59oF (15oC). Fertilize after every 14 days (every two weeks). After 3 to 4 months, the fruits will be ready to harvest.
On the commercial level, mostly tomatoes are grown using artificial fertilizers. They are harvested before ripening and travel long distances to reach the supermarket’s shelf. They look nice on the store’s shelves, but they do not taste as good as homegrown tomatoes.
Homegrown tomatoes will enhance the taste of your salads, pasta, and sauces.
How to Grow Tomatoes From Seeds?
Growing your own tomatoes is the healthiest and most satisfying option. You can enjoy different varieties of this veggie from your home garden.
A complete step-by-step guide on how to grow tomatoes in the garden and containers is explained below. Have a look to learn more.
Step 1. Collect Tomato Seeds
First of all, you have to collect the tomato seeds. There are two straightforward ways:
1. Harvest your seeds. Although there are several methods of tomato seed harvest.
2. Buy your seeds. You can easily purchase the common tomato seeds from any garden store or your local seed market. If you are looking for heirloom seed varieties, you can get them in reputable online seed stores.
let’s discuss the two most effective ways:
Method 1:
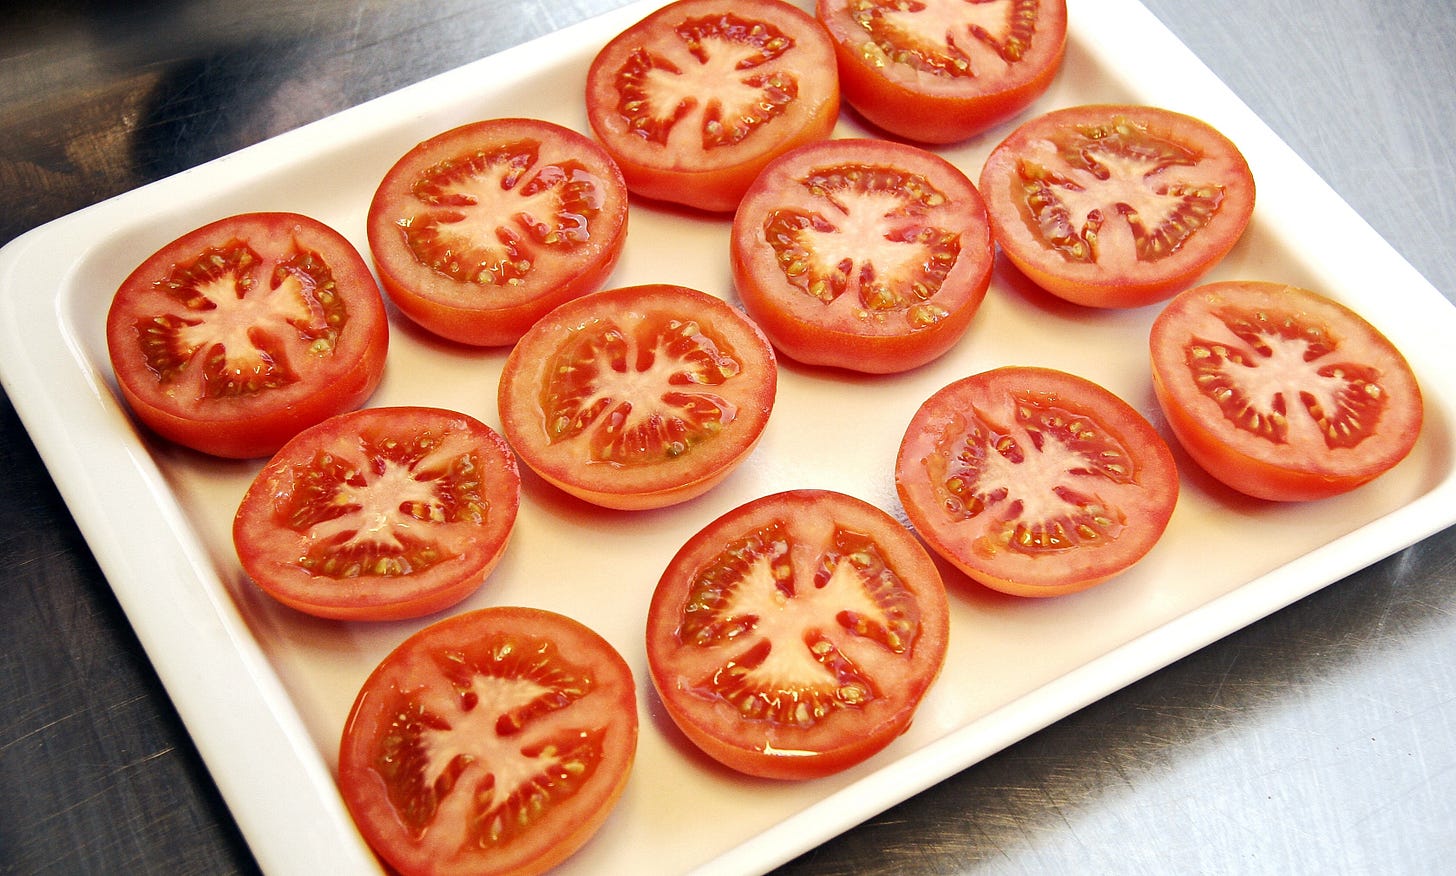
Cut thin slices of tomato.
You can sow the slices that contain the seeds directly into the garden soil or container.
Pro Tip: Using Method 2, you will get a big cluster of tomato plants. Ensure to thin the plants early in the growing process (after the second set of true leaves appear) or cut the weakest plants at the soil level and discard them.
Method 2:
This method takes a lot of time and effort, but it prevents the plant from seed-borne diseases in the next generation.
Scoop the seeds out of the selected tomato into a container filled with water.
Stir the mixture. This will clean the seeds.
Leave the mixture for 15 minutes.
Discard the fleshy tomato bits floating in the water
Pour the dirty water out.
Repeat the cleaning process again.
The seeds will settle at the bottom of the container.
Spread the seeds on a sheet of paper.
Let the seeds dry for a couple of days.
Carefully collect the dried seeds and store them in a cool and dry place.
Step 2. Prepare Containers for Tomatoes
Container selection is an easy process. You can choose from specially made seedling trays to a homemade newspaper pot… Do people still buy newspapers…? My point is, you could make anything into a container. My favorites are simple plastic cups with drilled holes at the bottom.
Below is the list to help you choose the containers for your tomatoes, but don’t overthink it:
Seed starting trays
Cell trays
Flower pots
Peat pots
Or alternatively:
Plastic cups
Newspaper pot
Paper coffee cups
Plastic bottles
Plastic milk bottles
Milk cartons
Or any other recycled container
Pro Tip: it is always recommended to start the tomatoes indoors before their actual growing season to give them a boost. So, select a larger container to reduce transplanting.
Step 3. Prepare Soil for Tomatoes
Next, you have to prepare a soil mix. Multipurpose compost is excellent for seed germination and seedling growth.
For container planting:
Take your chosen container with drainage holes for planting seeds.
Fill the container with multipurpose compost.
For outside planting:
Loosen the compacted soil.
Use multipurpose compost and mix it into the garden soil.
Use animal manure (chicken or well-rotted cow manure), and mix it into the garden soil.
Step 4. Planting Tomato Seeds
It’s time to plant the seeds!
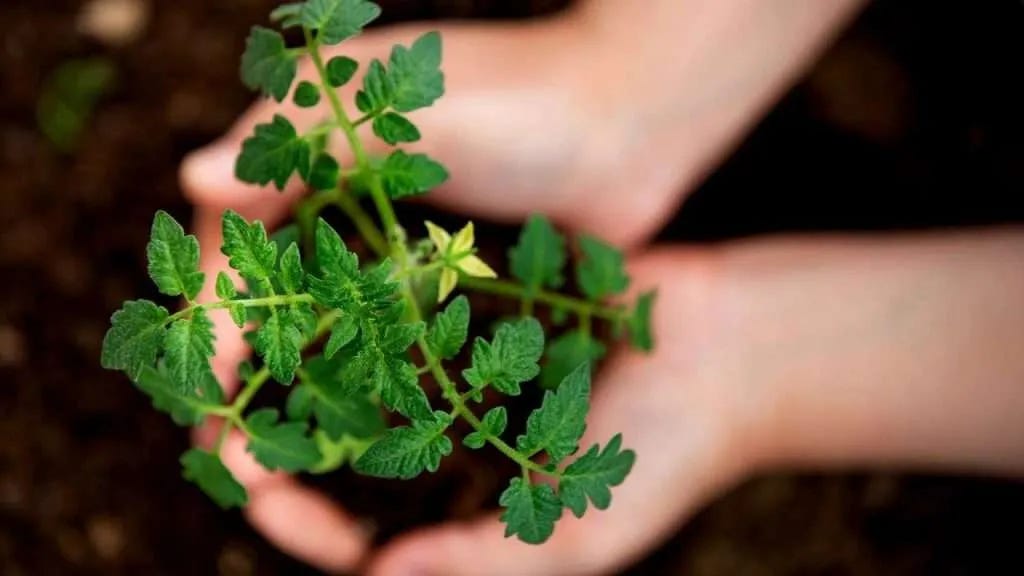
Make a small hole in the prepared soil mix.
Overseed! Sow 2 to 4 seeds in one hole in the seed tray or container.
Pro Tip: the rule of thumb is that the depth of the seed should be 3 times the size of the seed.
Cover the seeds with the soil mix and water well.
Place the containers in a warm and dark cabinet.
Keep an eye on the soil mix in the container. If the soil is dry, water it, but avoid overwatering. The soil should be moist, not wet.
Step 5. Caring for Tomato Seedlings
Some seeds might not germinate. Don’t feel bad! It’s not necessarily your mistake. Some seeds might have been damaged or too old to grow.
The seeds will sprout in 1 – 2 weeks.
After the seedlings emerge, place them on the sunniest windowsill.
Lower the frequency of watering after the seedlings begin to grow.
Only fertilize if you were using garden soil to grow your tomatoes. Multipurpose compost has enough nutrition for your seedlings.
If the temperature does not fall below 150C (590F) for a week, tomato plants are ready to be transferred to your garden.
Step 6. Transplanting Tomato Plants
Transplanting Tomatoes into Container
If your containers are getting too small for your tomato plants and the outside is still too cold, transplant the plants into bigger containers.
Take a larger container with drainage holes at the bottom.
Fill the container with 50% garden soil and 50% multipurpose compost.
Place the tomato plant deeper into the container covering the stem with the soil mix. The roots will develop from tiny hairs on the tomato plant stem (Trichomes) and strengthen your plant.
Gently press the soil mix around the tomato plant.
Water the tomato plant heavily.
Hardening off Tomato Plants
When your plants are big enough, and the temperature outside is not falling below 150C (590F), start hardening off your tomatoes before transplanting them outdoors. This will reduce the shock to your tomato plants when you change the growing conditions from indoors to outdoors. Gradually introduce your tomato plants to the real harsh world.
Start with 1 to 2 hours daily and gradually increase the time your plants spend outside. This process will allow your tomato plants to get used to the temperature fluctuation.
Slightly reduce the watering, but water your tomato plants if you see leaves wilting.
Skip the bad days. Don’t bring tomato plants outside if the weather is too harsh.
Transplanting Tomatoes Outside
The hardening-off process should take from 1 to 2 weeks. When you come to the point where your tomato plants can stay outside for the whole day, it’s time to transplant them outdoors.
Reduce the watering before transplanting. If the soil is dry, the plant will dislodge easily from the container. Minimum losses! If the soil is wet, it will be hard to dislodge the plant with roots intact.
Prepare the spot in the garden for your tomatoes. Dig a deep enough hole in the soil, considering that you will have to bury your tomato plant deeper than it is in your container.
Remove the lower leaves from the tomato plants. It is necessary to remove the bottom tomato leaves. If leaves sit on the soil for too long, they can catch a soil-borne disease and infect the whole plant. Don’t let the plant leaves sit on the ground!
Gently take the tomato plant out of the container. Don’t pull! Invert the container while holding the stem and the soil. Slightly squeeze the container sizes and then tap the bottom of the container. The tomato should slide out, keeping the root ball intact.
Place the tomato into the hole and bury it deeply to encourage good root growth. Ensure no roots are sticking out above the soil.
Fill the hole. Gently push down the tomato plant and fill the gap with soil. Press the ground around the tomato plant, ensuring the roots are not sticking out.
Water tomatoes heavily. Avoid wetting the foliage. Try your best to only water the soil.
Patience! Your tomato plants will look sad after transplantation. This is normal. Give your tomato plants a couple of days to get used to their new home.
Pro Tip: Keep a journal with the dates of sowing, germination, and transplanting. If something goes wrong, you can adjust the dates for the following year.
Step 7. Caring for Tomatoes
Well, you are not done yet! There is still a lot to do, but you are halfway there.
As your tomato plants grow in size and flowers appear, follow these final steps on how to grow tomatoes successfully.
Plant Support. As the plants grow in size, they will need support. Take untreated wooden stakes (2×1 are the best) of approximately 5 feet (~1.5 m). Hammer the stakes into the soil close to the plant. Use a garden rope to tie the tomato plants to the wooden stakes.
Plant Pollination. When the flowers appear on your tomato plants, they are typically pollinated by wind and some insects. Sometimes, with the lack of wind and a lack of insects, the flowers might fail to pollinate. They will not become fruit and will drop off the plant. You should gently shake your plants (once a week) if that happens. This will encourage the distribution of pollen. You can also use a soft brush and manually pollinate the flowers. For the best results, create a pollinator garden.
Fertilize. Every 14 days (every two weeks), use organic liquid fertilizer for your tomato plants.
Topping Your Tomatoes. One month before the end of the season, top your tomato plants. This is done by cutting the top of the tomato plant stem. Doing this will divert the energy from plant and leaf growth into fruit growth. More fruit before the end of the season.
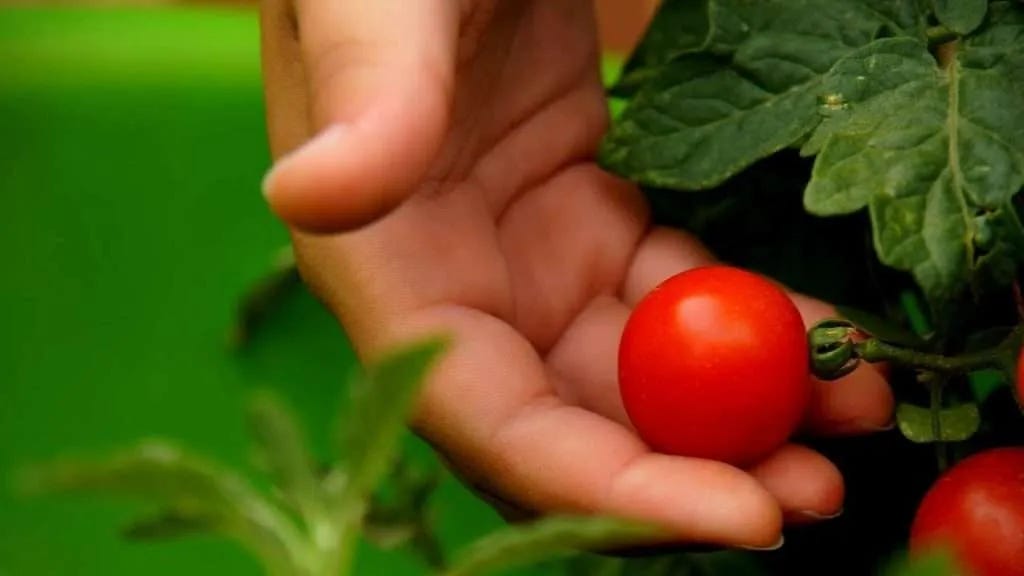
Harvesting Tomatoes. The tomato plants will be ready to harvest in 3 to 4 months after planting.
Add charm to your veggie garden by growing different varieties of tomatoes. Follow the mentioned steps and properly care for your plants. Stay healthy by growing and eating healthy organic food.
Also read:


